Monday, February 3, 2025

Sewing Revival Classic Shorts

I'm a fan of Sewing Revival Patterns by Kiwi designer Janine. I had Mapua shorts on my wish list for a while, then a friend made these Classic Shorts so that tipped the decision.


(Final garment above.)

Janine's patterns are usually pretty straight forward, and I have made a few; Fantail, Kingfisher and Heron Tops, Snug and Sidewinder pants, and the Nikau and Stitchbird dress - Phew! These patterns were my first foray into digital patterns.


(Final garment above.)
About the Classic Shorts. I made S12. When finished, the sizing, which has never been an issue, was voluminous. 

Fabric: I made these from pants which my husband bought for me on a work trip to Thailand. I alway loved the fabric, but as a Kiwi woman, 175cm tall, clothes made in Asia, by and large, are always a little bit problematic. 

I love wearing shorts. It tells me it is good weather, and I am not at work. They are practical, and I like the fun of being a woman in her late 50s still wearing shorts.

But these, to be frank, just felt big. Too big. Baggy in the bum, and the side seams sat about 1" behind the my side waist. I wanted to make another pair, and had/have some leftover fabric earmarked. So I decided to cut a size smaller. I checked my measurements again versus the pattern sizing. I should be a size 12? But I decided to cut a S10.

I get my patterns printed on A0 at my local copy shop. If the patterns are layered I usually get a size up and a size down printed - this I find so much better than having all sizes printed. Then I draft onto frost cloth, or inexpensive vilene from the local emporium. So I traced and cut out a S10 front and back. Then I got my band and laid it onto the A0 sheet. Hang on! I had cut a size 16! Ah ha. No wonder they felt so large.

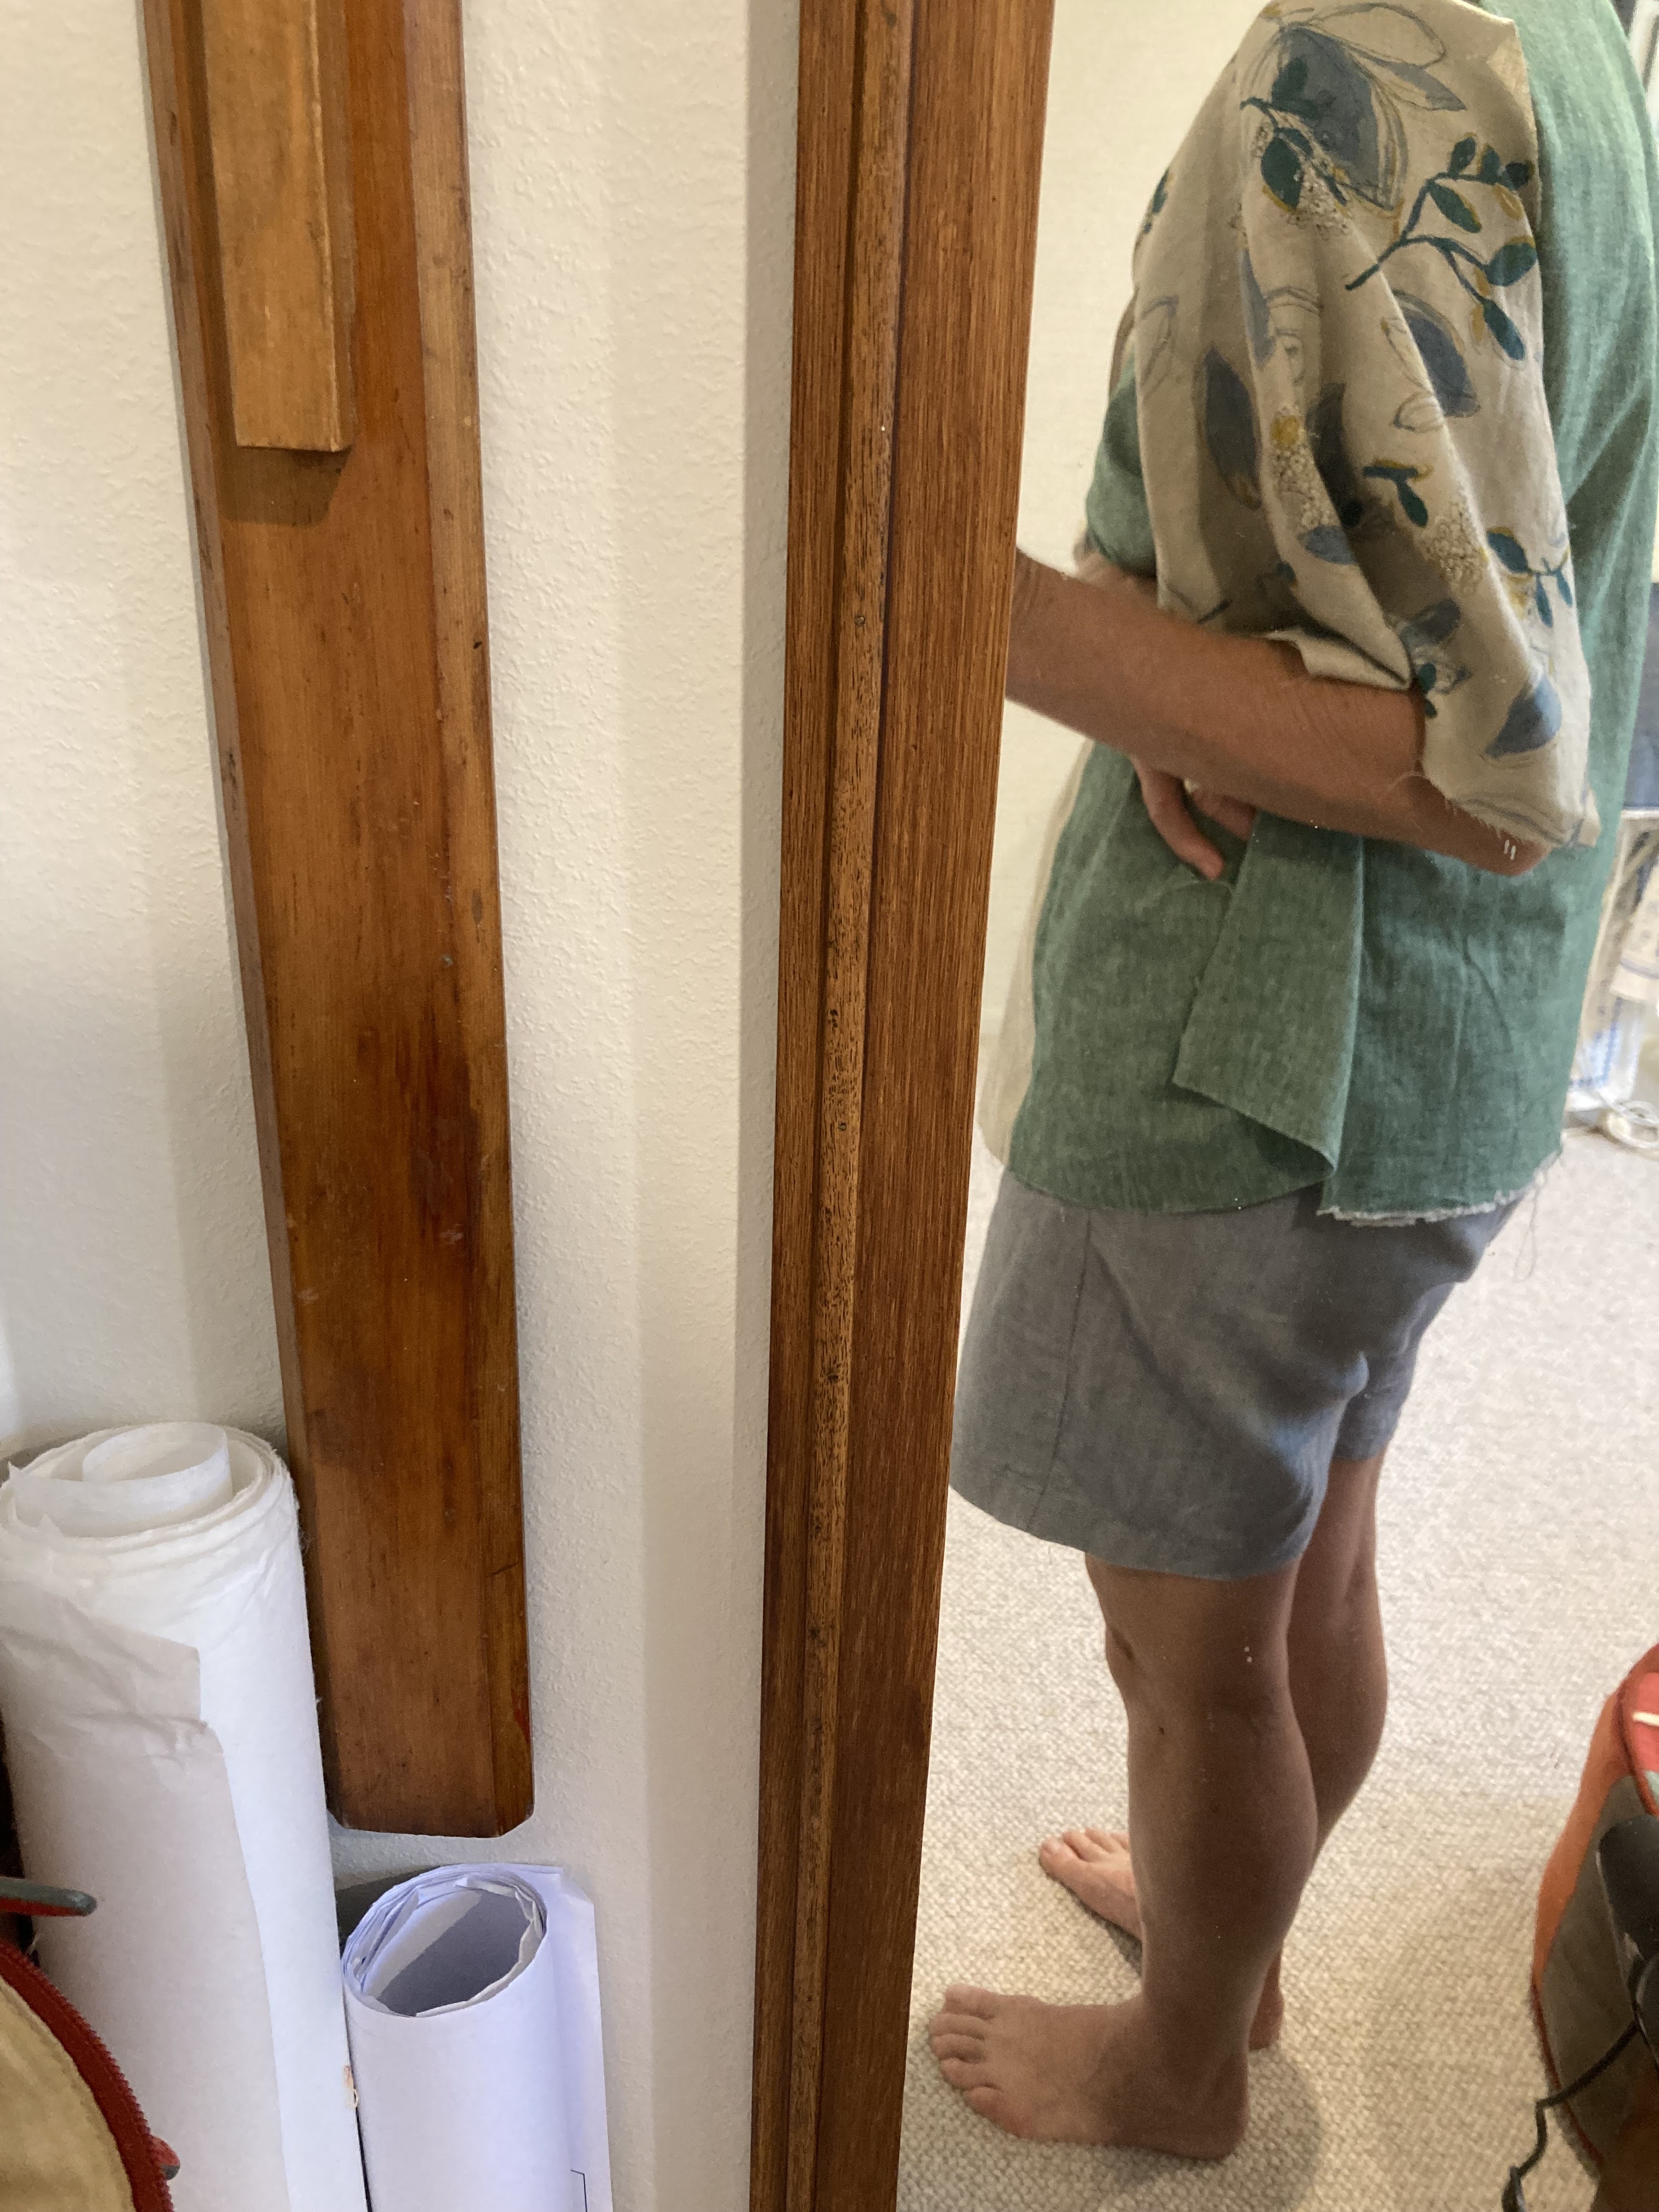
My second pair are still in the queue. Meantime I have re-sized. I took 1/2" from the front inner leg seam, and 1" from the back inner leg, and raised the hem by 1". I like the feel of the re-sized version way better. Live and learn!

The S16:


Lucerne Blouse

 This was my second Hey June Lucerne Blouse. I was really taken with the tie sleeve detail and this type of easy to wear top is the mainstay of my work wardrobe. Top + Skirt, or Top + Pants.


I made a Size 12, and I think with no changes - I've left my precious sewing project notebook on the counter of Tessuti in Melbourne and currently waiting for my son to post itwaiting for my son to post it home, so I am not 100%. 

Fabric: My current area for improvement is fabric choice. Aiming for drape. This fabric has drape, but the rest I am not sure having purchased it in an op shop. Polyester is my guess now, but I was thinking viscose when I bought it. I like print, and abstract/geometric patterns. The pattern here is smaller than my last make - the Olivia.


It is an easy pattern to make, I made View A this time. I made a small mistake on one of the sleeve ties, so that when I turned the tie end out, it was facing the inside of the shirt. I'll just double check this as I go next time.


I like the neck line. There are no darts but the top works well and this dartless design gives it a bit of swing.


I'm not in love with this blouse, so I am thinking of it as a wearable toile. Why:

  • polyester fabric
  • once complete it reminded me of a uniform top worn by staff at my bank
  • the curved hem (which I should have run a gathering thread through to get it to sit better).
Next time?
  • try for viscose or rayon or possibly an old linen table cloth (I have several) 
  • straighten the hem, either a deep hem or possibly even a wide elastic band?
  • lengthen the sleeves by 5-8cm.
The first Lucerne, in case you were wondering. I made View B, the petal sleeve. Those sleeves were not me, and, again, I made a poor fabric choice - the theme! The hem was straighter, just due to the size of the piece of fabric I had. I did wear it for a day to check the back width for comfort. Then it went in the donate pile.


Thursday, January 9, 2025

Oh Olivia


There are a number of RTW garments I wear and love, which I often dream about recreating. This is harder than it seems. Mostly I think it comes down to fabric choice. In RTW garment design begins with the fabric. I am beginning to understanding the importance of this concept.

I chose this pattern after an extensive trawl on the Foldline pattern site. I love this site. It is so good to be able to compare different patterns and elements and designers. Olivia is one of two Atelier Jupe patterns I bought, the other is Frida.

The pattern has a handy guide to the pattern pieces and seam allowances. I’ve not seen this before and it was helpful. (I love a good list or table!) The downside with the construction is you leap straight into the front placket. Here I did find the instructions lacking in detail. I read them through a few times then came across a wonderful sew along. Which was truly great, thank you Andrea at 'Beyond the pink door'.

I cut size 40, adding 5cm to the body length, and 8cm to the sleeve.

I sewed the buttons on without button holes. But that stage of the make I knew I could take it on and off.

I like the raglan sleeeves and could use french seams next time, depending on the farbic. The skinny hem works OK.

So, what did not go well. The fabric was gifted from a pile on its way to fabric rescue. Love the colours.  It is very light weight shirting. Too light for this pattern. Which would work beetter with a little more heft and drape. (Drape is my sewing word of the year for 2025, this is another example in my sewing where more drape would give a better result.)

Love the colours and the print. But I have discovered that a large print on a top is too overwhelming. Looking at the smaller pieces like the collar, I don’t think the print works at all well. I have a couple of cream/pale bottoms which will help lift it a little.


So I have learnt a lot. I’ve worn this, and probabaly will wear it again, until I can create a better version. We will see. 

And Olivia? Yes I will make it again, but in a better choice of fabric.

Tuesday, December 31, 2024

Lela Drawstring Skirts


I thought a drawstring topped skirt would be a useful addition to my wardrobe, and chose this SewDIY.Com pattern to try. I used an old tablecloth which came from my Aunt's house when we were clearing it out some years ago. I love fabrics with story and connections.

The weight was perhaps a little heavier than ideal, but the pattern I absolutely love. The age of the table cloth meant there were a few holes and spots of wear and tear to navigate in the cutting. But that was well and truly off set by the fun of pattern matching. This is not something anyone else will appreciate, but it makes me smile when I wear this skirt.

I made S14, and straightened the lower hem, matching front and back hem length.

I was thinking this would be a casual skirt but have worn it to work a few times. 

I love pattern. Geometric, line and shapes are my favourites. Oh and I like colour. This does present a problem as I need some plain pieces to match with all the pattern!

This winter I was lucky to have a week long trip to Bali, going from mid to low teen temperatures to high twenties. A couple of weeks out I came to thinking a travel skirt would be good. This pattern is so easy it lent itself to a quick make. I made this from my stash, once again fabric with a connection - this linen came from a friend's collection after she died.

This time a monotone brown/grey, perfect for travelling and matched everything else I took with me. I had 1.1m of 140cm wide fabric - perfect match.


Monday, December 30, 2024

Scrap Busting Remy Raglan

I was inspired to make a scrap top after seeing Blogless Anna’s ‘Jigsaw Puzzle’ Remy Raglan.

It was a detour away from my, now long-standing, goal of sewing up fabric I have bought, but I couldn’t resist. Plus in January we are going to be in Melbourne, and anticipate it will be hot, very hot, so loose fitting linen had appeal.

I consulted an expert fabric friend about my options, and narrowed it down to four pieces. Similar weights and something in common in terms of colour and pattern.

I was a little uncertain about how to put these together, and settled on the pattern for the sleeves, mainly as there was not a lot of this. In fact I ended up with a centre seam on one seam. While I was feeling quite pleased with this I realised I had cut two identical sleeves instead of a pair!

Unusually for me, I did not cut the whole garmet out to start. Instead I made the sleeves and the front first before settling on the final choice for the back.


My decision was the blue, I can’t resist mixing colour. But, I slept on it, and, here’s a confession, in the early hours of the morning I thought about Sarai Mitnik’s rule of three. This is a gem of advice from the Seamwork founder, helping sewers  to create and wear garments. What three outfits can you create with the garment you are about to make?

So I pared it back, using the same green brushed cotton for the back as well as the front.

The result is safer, I still like the colour contrast which Anna put together so well. But I hope it will mix and match with more pieces in my wardrobe.


This is a loose fitting top and I trimmed 15mm from the side seams. I made S 12. Turns out the sleeves worked OK with a little trimming too.

Thursday, December 26, 2024

A Travel Bag - Take 1

 There is nothing like make-your-own to solve a gap. After a trip in April this year, I wanted a smaller bag to take on the plane and when out exploring. Enough to fit a cardigan and drink bottle, plus the other 'essentials' which are good to have on hand when you head out for a day of uncertain activity in a new location. Time to to confess I am hopless at travelling light.


This project was the third bag I have made from a Japanese sewing Pattern Book I bought in Tokyo in 2019. So good to actually use sewing related materials, fabric and patterns.
I know from past experience the check the scale, most things Japanese are smaller than a Kiwi girl might expect!


Fabric was a mix of stash lining combined with some inexpensive heavier fabric from our local emporium. The straps came from Miss Maude.

There was some learning in the making of this bag. Slightly awkward to sew but actually my faithful Bernina 900 handled it OK. It is still good to stop and check proportions along the way. The dome closure straps were miles too long, and I was modifiying these the night before a trip. The corflute I used in the base was too thick which meant the bag was not comfortable on the back. This was easier to remedy than I thought, and a slimmer weight piece of plastic folder worked well. 

After a week long trip overseas the size was OK, except the side pocket for a drink bottle is too small for my typical sized bottle. The 4cm straps were a little to wide to comfortable hold when carrying by hand - so I sewed these together at a friend's suggestion. Main issue though was a zip would be better across the top. July 2025 I have a trip booked, enough time to make another version.


Remy Raglan


Finally I have made this infamous pattern! The Sew House Seven Remy Raglan. The fabric I purchased on line from The Fabric Store after seeing a shirt on IG. And it languished in my stash until I made this match.


The pattern is very straightforward. I liked the instruction blog, which lovely clear pictures. I made S12, adding to the length of the body and sleeve (I’m 5’9”). The french seams are a nice finish, and the neck binding and button tab works well.


I do love the sleeves, great length and easy to wear and the slim cuff is a nice touch.


Turns out I have worn this a lot with a me-made Augustina Boxy Top, and a Simplicity 4036 Skirt which are faithfuls in my work wardrobe.