Thursday, October 7, 2021

The Maker's Atelier Origami Top

 It has been a bit of a journey with this top. I suspect I am going to get a fair amount of wear out of it - easy to team with pants and skirts, and in green, a colour I love to wear. But putting it together was an experience.


The Fabric: This is a fine jersey knit which was in my stash. It is green, and I have no idea where it came from. Let me tell you I don't have a huge stash after a bit of a push to make things up, plus a few year's back taking a load of fabric to release at a Fabric-a-brac event in Auckland. So I would have thought nothing in there was older than 5 years - yet this is still a mystery.

The fine springy nature of this fabric scared me. 

The Pattern: The Maker's Atelier aesthetic is beautiful and the pieces all look like things which would be very comfortable to wear, and look great. 

In theory this pattern was simple, three pieces. The instructions, I thought, were scant and also lacked options to get a nice finish. They suggest leaving the neck edge and hem raw. Which I find a little bit odd. Yet there is detail about how to sew on the label - which I did not get as I ordered a digital pattern.

I had to look up the sizing on the website, which was a bit of a pain, and there were no finished measurements anywhere to be found.

I have made, and written about, the Tie Front Blouse from The Essential Collection book, so it should not have been a surprise to find the size 14 I made was very roomy, in fact tent like, in the body. And the sleeves were, well, skinny. Here it is at that point.


I should have basted the pattern up! But I was so keen to tackle the scary stitching on my overlocker, and insert the clear elastic to stabilise the shoulders, I just launched straight in. Lesson learned. So I carefully cut off all the seams, except the sleeve seam. Then I trimmed the front and back pieces, then basted, then sewed it up - phew!

I am happy with the result. I hand stitched the neck edge and lower hem. It took a while but it was quite easy to get a nice finish. For the sleeves I used the zig zag on my regular sewing machine (Bernina Nova circa 1982). The centre front is going to pop out slightly, which lends it to being tucked in.


Interestingly it did not occur to me to search out reviews or write ups for this top until I was about to start sewing. I found two reviews, neither were fans. 

I had fancied the Drawstring-neck top and the Tie Detail top, also by this designer. And I surprise myself at my willingness to overlook these experiences and be thinking they could still work. . . . But I am going to learn from this top and move on. My goal for my sewing is to make clothes which both fit and are comfortable to wear.

Claire

Monday, October 4, 2021

Palisade Pants

Not one pair of Palisades, but two.

The first in a linen from the Fabric Store. Loved the feel of this and I really did think it had some drape. 


I sewed S14 based on my hip measurements. I added 5cm to the leg length. Then, for the first time I actually basted these up and tried them on. 


It was tricky to get the top to stay cinched in to evaluate the fit. Length and crotch seemed fine, but they were tight on the calf. How did I forget about my full calves! The pattern has a 1cm seam allowance, so I skinnied that up on the lower leg, and the result was fine. I sewed on until I needed to stop and wait for the elastic I ordered online.

I was doing this project during a Covid-19 Lockdown, so had time to kill while I waited for the leastic to show up. I wanted to keep sewing, hence the second pair. This is a lighter weight fabric from my stash, which I acquired at a fabric swap in Matakana earlier this year. I honestly just went to look, not come home with anything, but you know how it goes. This was labeled 150cm x 150cm, in a brown colour with a bit of a sheen, and also a small degreee of stretch.


For the second pair it was a chance to make a full calf adjustment to the pattern plus I added a little onto the side panel back seam for the lower leg, just to be safe. The restul is good on the lower leg.

It was interesting to baste the pattern up - an opportunity to use some random thread. It required me to abandon the assembly order described in the instructions - actually I did find this hard! It turns out I am a rule follower, if there is a prescribed order then I like to do that.

Fitting evaluation on the second pair was the leg width was good - no clinging to my calves, but the bottom felt a little snug. Again hard to tell when trying to tuck the raw edge into a sash belt, but enough to make me let out the seams by a little.

I changed the construction a little, and attached the entire band then inserted the elastic. I find it very hard to get elastic right, having learned from experience it is useful to safety pin the elstic in at the proposed length, then wear the pants around for an hour to try it out. Usually I make it shorter/tighter as a result. I was pretty sure that inserting the elastic into the back band, as per the pattern instructions, would mean unpicking and tweaking. I also reduced the width of the band, to 4cm finished - liked the result. 

Results:

The linen pair are comfortable to wear and I am happy with how they hang. Possibly slightly long but that is a good probelm for me. A reminder to keep them up on the waist, and I made sure the elastic was reasonably firm. I wished afterwards that I had lined the pockets with a lighter weight cotton. I trimmed carefully before finishing the front and back centre leg seams, to try to reduce the bulky edges of the pockets.

For the pockets I have made both pairs with only one diagonal pocket. It just didn't make sense to add more fabric at the hip. I am pleased with the line on this.

The flat front band I like - similar to The Sewing Revival Sidewinder pants. I wish I could work out how to make the elasticated portion of the band look less home made?

I liked the finish on the fabric on the second pair. The fit is snug, and I do hope the construction is all sound.

Exciting to have some bottom halves completed. I'm undecided about the side pockets. I am pretty sure these will never be used, and I am not inclined to repeat this pattern at this stage. Instead I am looking forward to trying the Free Range slacks, with pockets front and back pockets and a smooth side panel - watch this space.

Claire

Saturday, October 2, 2021

The Maker's Atelier Tie Front Blouse

 I loved this striped vicose georgette fabric from The Fabric Store and its weight and body were good to sew with. 

The pattern is from Frances Tobin's book The Maker's Atelier, The Essential Collection.


There is much to love about this collection of patterns and the pieces in the book are stunningly executed. It felt both exciting and a bit risky to be drafting this pattern from the back of a library book.


The pattern and construction were fairly straight forward. I made S1/2. I was highly suspicious of the sleeve head size - after I had cut it out! I wondered how my arms would move in this garment as the top of the sleeve appears too skinny. It does work and is comfortable across the back to wear, but this is due to the ‘relaxed’ fit. For me this can feel a little big and loose. If I make this again I figure perhaps I would take some of the width out? Or look for another pattern? The front sat slightly lower than I usually like to wear but I am confident I could adjust that for future makes.

The stripes are helpful for cutting and sewing although I did make a mistake when hemming and the lower front edges are uneven. I do honestly, intend to fix this some time. But I made the fateful move of putting it into the wardrobe and wearing it, so I am not sure when I will get back to adjust this. I also, kind of like this uneven hem, evidence of its maker.

I have the Origami top, also from The Maker’s Atelier, in my making pile and look forward to trying another pattern from this designer.

Claire

Orla Kiely Work Bag

 What a delight to have finally made this much awaited work bag.


The Orla Kiely oil cloth remnant was from The Fabric Store some time back. . . .

The bag is capacious, to fit all I need to carry on my walk to and from work. This includes usually, lunch, a change of shoes, umbrella, plus other bits and bobs.


The contrast fabric is from our local Geoff's Emporium in Warkworth - thermal backed curtain fabric. I like the colour match although is it not a waterproof fabric. The straps were a colour matched webbing, slightly narrower than ideal, so I added a layer of the contrast to this - more comfortable on the shoulder and to carry.


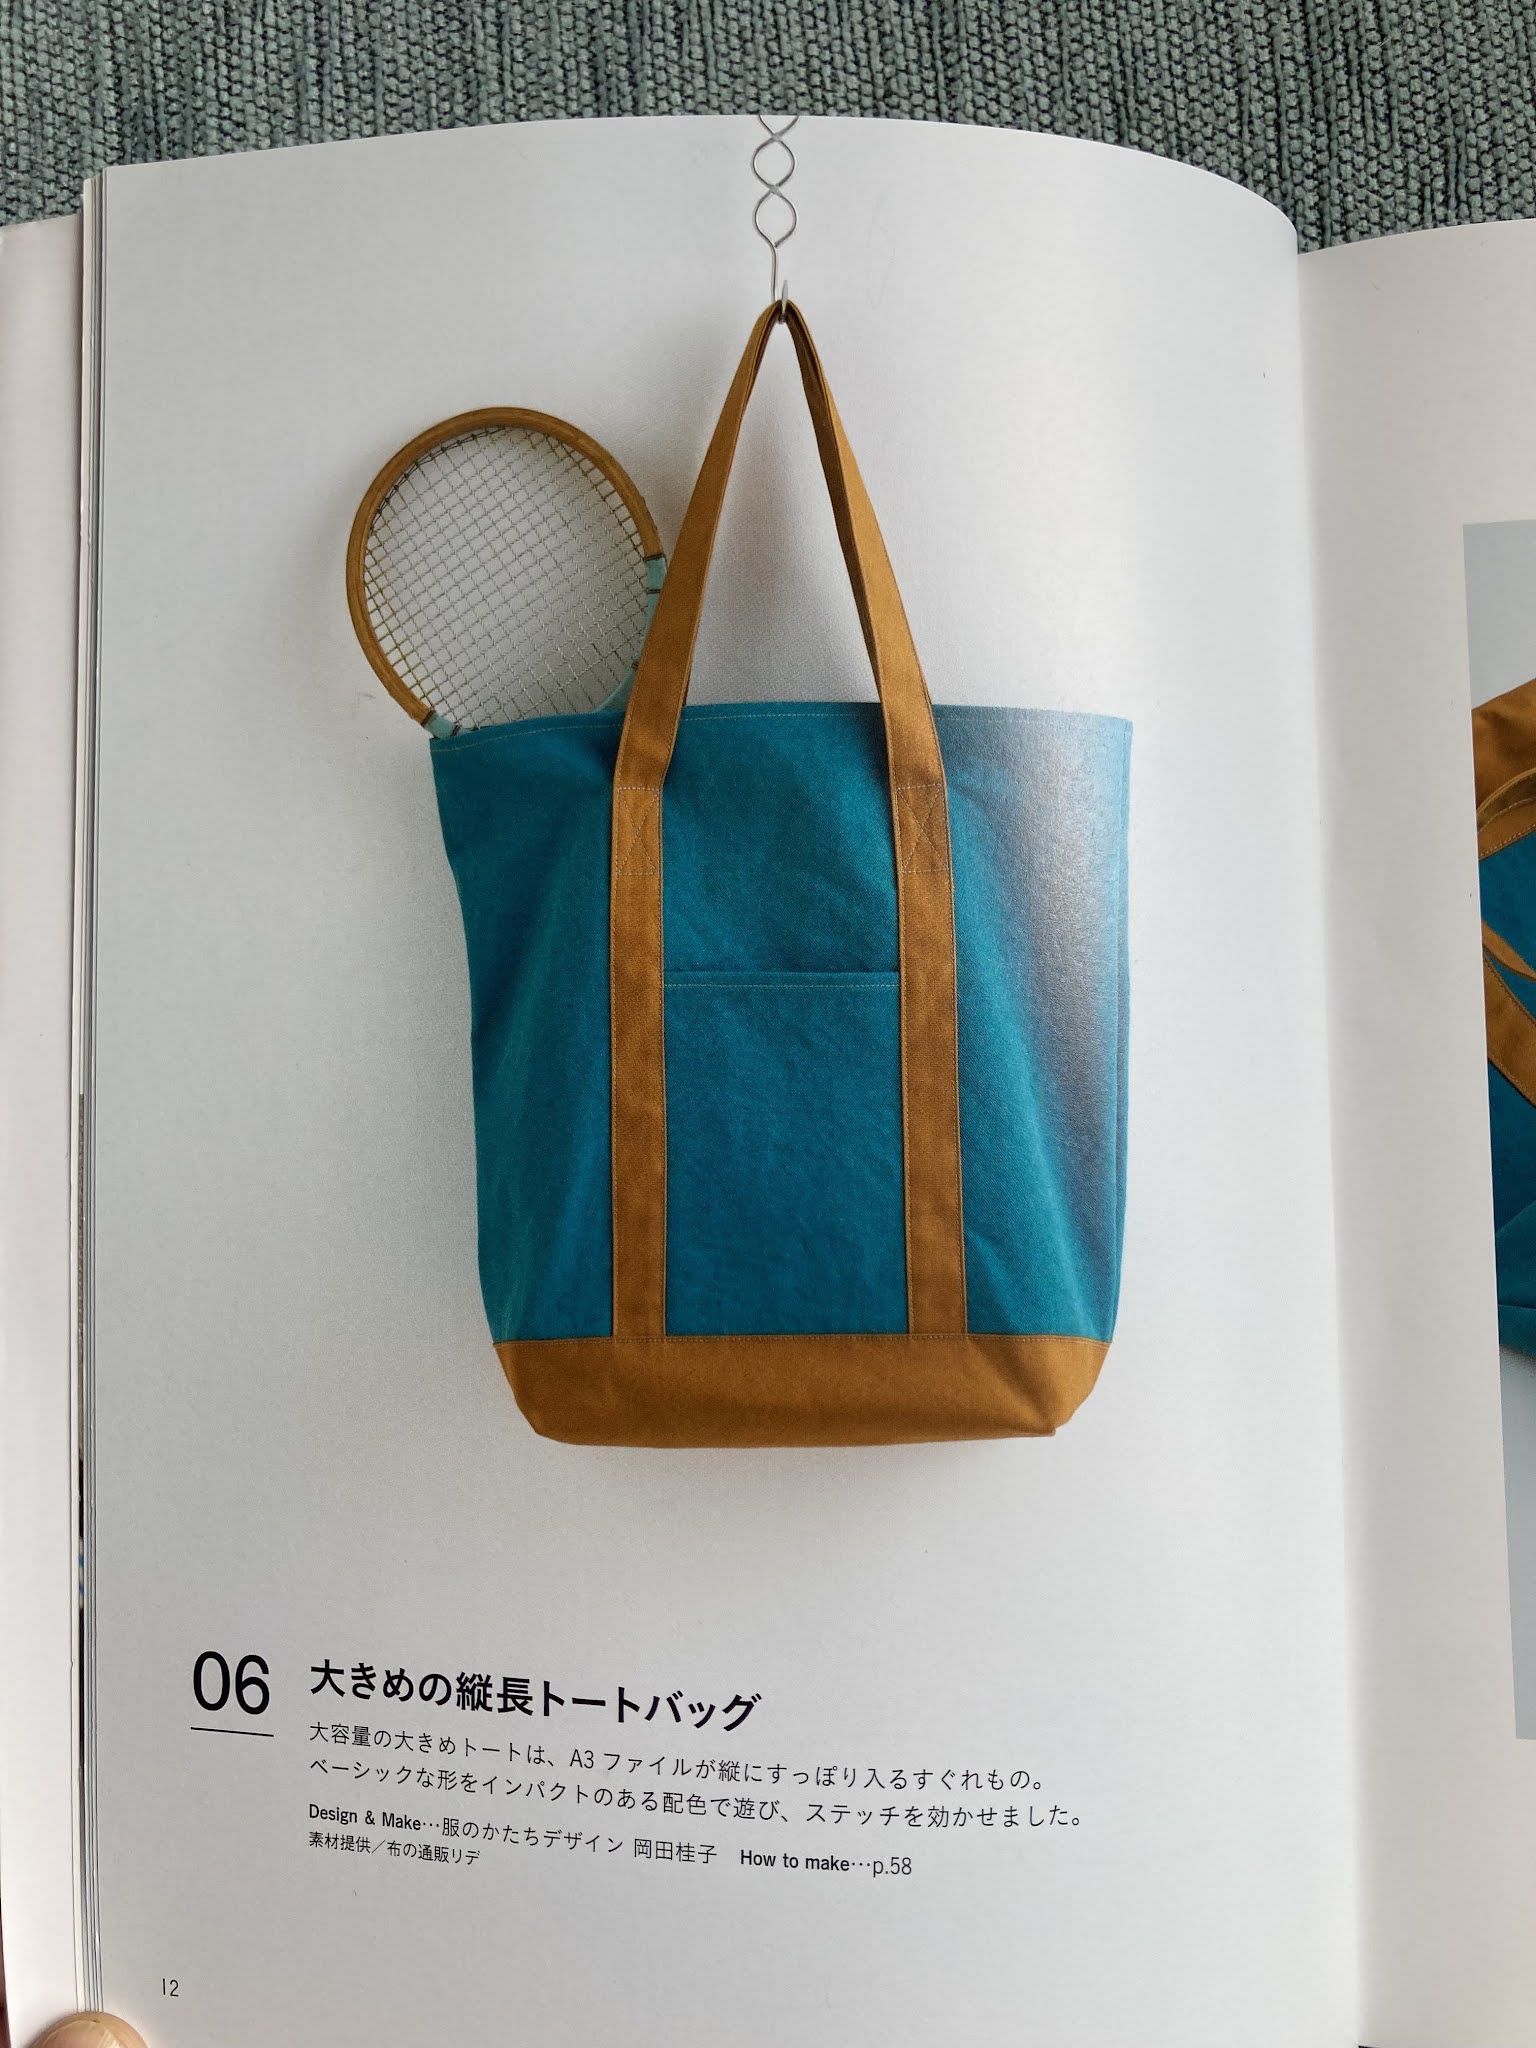
I followed a bag pattern from this Japanese sewing book, purchased in Tokyo in 2019. I have made another earlier attempt. This was not successful in terms of the fabric choice - too soft, the size - too small, and the handles - too wide and too short. Good learning though.


I listened to the Love 2 Sew podcast interview with bagmaker Anna Graham. My main takeaway was there will be awkward tricky bits when sewing bags with oil cloth - just take it slow and keep going. Turned out to be good advice. 

There were a few revelations - usually I figured out a better method after I had done somethings. My key learning was the webbing does not need to be hemmed, just melt the cut end on a flame.

Claire

Saturday, September 25, 2021

Heron Top in Silk Georgette

It has been a while since I was here in this blog space, but some recent output at the sewing machine, along with reading some wonderful sharing of other sewists has led me back.

I have just finished this Heron Shirt in silk georgette from The Fabric Store.

I have two RTW shirts in similar styles, both of which don't quite work for a variety of reasons. The rust peasant style is a great colour and size, but short sleeves and slightly tight elastic cuffs are annoying - I am 5'9" and usually want more length in the body and sleeves. Plus the polyester fabric is very clingy. 

I like this silk top, but have sewn up the centre front slightly, and also find these sleeves short.

I bought this georgette fabric online, on an impulse, and since then it has sat in the cupboard scaring me. Finally I took the plunge.

First step was the treat the fabric with gelatine. This worked well to stabilise it. Something to consider though when looking at the fit toward the end of sewing, as the shoulders sat up slightly. Then once I washed the gelatine out it draped much better.

I listened to the Love 2 Sew episode on sewing delicate fabrics as I began this project, and the advice was very useful, especially to be patient.

I made a size 12 (NZ/AU/UK) adding 5cm to the body length and the sleeve based on my measurements. Turns out I didn't I need to do this so in the end shortened the sleeves only once they were completely finished. And shortened the body too but fortunately before I had finished the hem. 

As a Kiwi sewist I am so happy to be making a Made in NZ pattern. I love the style and feel of most of the Sewing Revival range and I have made the Nikau and Fernbird dresses, as well as Snug and Sidewinder pants. 

The simplicity of the pattern - only 3 pieces, front, back & sleeve - was pleasing. I think I will make this again, possibly in a weightier fabric with more drape. Next time though I will not start with the centre front seam. Instead I will dive further in and sew the sleeves and back first to warm up. I ended up unhappy with the way the centre seam was sitting so unpicked the seam and the hemmed edges - stich by stitch - and redid it. Happier with the result.

I will also make a slightly more generous channels for the elastic/ tie at the neck edge - gave myself conniptions pulling the tie through my delicate fabric on this one.

Reflecting on my process with this garment, I was sewing a delicate fabric which I don't have a lot of experience with. As a rule I don't make toilles, preferring to measure the pattern pieces, myself, and other similar garments I already own. But this is not unfalliable. From here on I have promised myself to try things on earlier and more often in my sewing process. I smile to see my approach, follow instructions through to the end, then out the garment on and wear. For this pattern it is really hard to gadge the fit and sizing until the neck is complete. So a sensible path would be to apply my experience and learning to making another Heron. 

Claire

Sunday, October 28, 2018

New Garden Notes #3


Making changes!! So there is a large tulip tree at the front of our section which dominates the property. It is a favourite of the pigeons too. But it is kind of big, and well, we want to make some changes. We contemplated topping it and planting nearby to somehow make the transition easier, but  this was what we decided instead.

Awesome tree people came, and in a day the property was transformed.

Including taking out all the palms. 
Let's see how this space develops from here.

New Garden Notes #2


Here is one of our visitors in our Kowhai. The tree has grown slightly skewed, I think due to the weight of these guys! They are lovely to have and under the tree there is a small Kowhai nursery. One transplanted so far, and three small seedlings still to carefully relocate.
A little research in the neighbourhood I have found a wonderful Australian Frangipani tree. I tracked these down to Ardmore nurseries and now we have one in our front garden.
From little things big things grow. That small tree is going to spread to fill this space and provide screening of our driveway from the street - watch this space.
Fast growing and evergreen, and a height that will be manageable.


And then to the working area - round the back the new shed. Although tucked away the advantage is it will only have garden things inside. Too close and all sorts end up in there :)
Path created from some concrete slabs about the place. There will be some green screening which will evolve in time too - watch this space.